

I decided to redo the tile, counter top and the cabinet. Since I was experimenting with our new epoxy, Rock-Kote, I tackled the counter first. I cleaned the laminate and rolled a coat of Primetch. I also did this to the row of tile behind the counter. When the Primetch felt dry, I rolled two coats of Royal Taupe Setcoat.

The picture above is my first color layer. At this stage, a client will call you freaking out. When creating a "granite" look, don't obsess about the base layer. You are just laying in blocks of color to build upon. Trying to create veins at this step is a waste of time and product. I like to seal this layer with a gloss topcoat.

See what a difference the second layer makes? This is where I take my color and make veins and drifts to create my granite look. I would tell you how I do it but then I would have to kill you. Seriously, I teach this in 2 classes so the paying folks know the tricks. (Stick with this, there is a freebie recipe for the cabinet). When the veining is dry, I over glazed the whole thing with a rich caramel color. Oh yea, I blew in silver and black fine glitter too-we are really into glitter right now.

Here I am pouring the two part high solid epoxy. I confess, this is not simple. It involves precise measuring, mixing, and pouring. It is also messy. Through trial and error, I've found some helpful hints. Heat water in a microwave about 1 minute. Remove water from microwave and set the container of both parts of the Epoxy in it for 10 minutes. This really thins the thick material when you mix and stir it. Don't be skimpy on the pour-more is better. I didn't pour enough and had rippled areas. Finally, use a propane torch and keep it moving over the surface. This causes the material to "crawl" and releases any bubbles as you pull gently with a foam brush. If an open flame concerns you (and it should), then the water-based Rock-Kote is a great option although it doesn't "pop" the finish like the high solid.

It looks pretty good. You do need to pull the tape before the epoxy sets because it is really hard to cut out after the fact. I let this cure 48 hours before I worked on the tile.

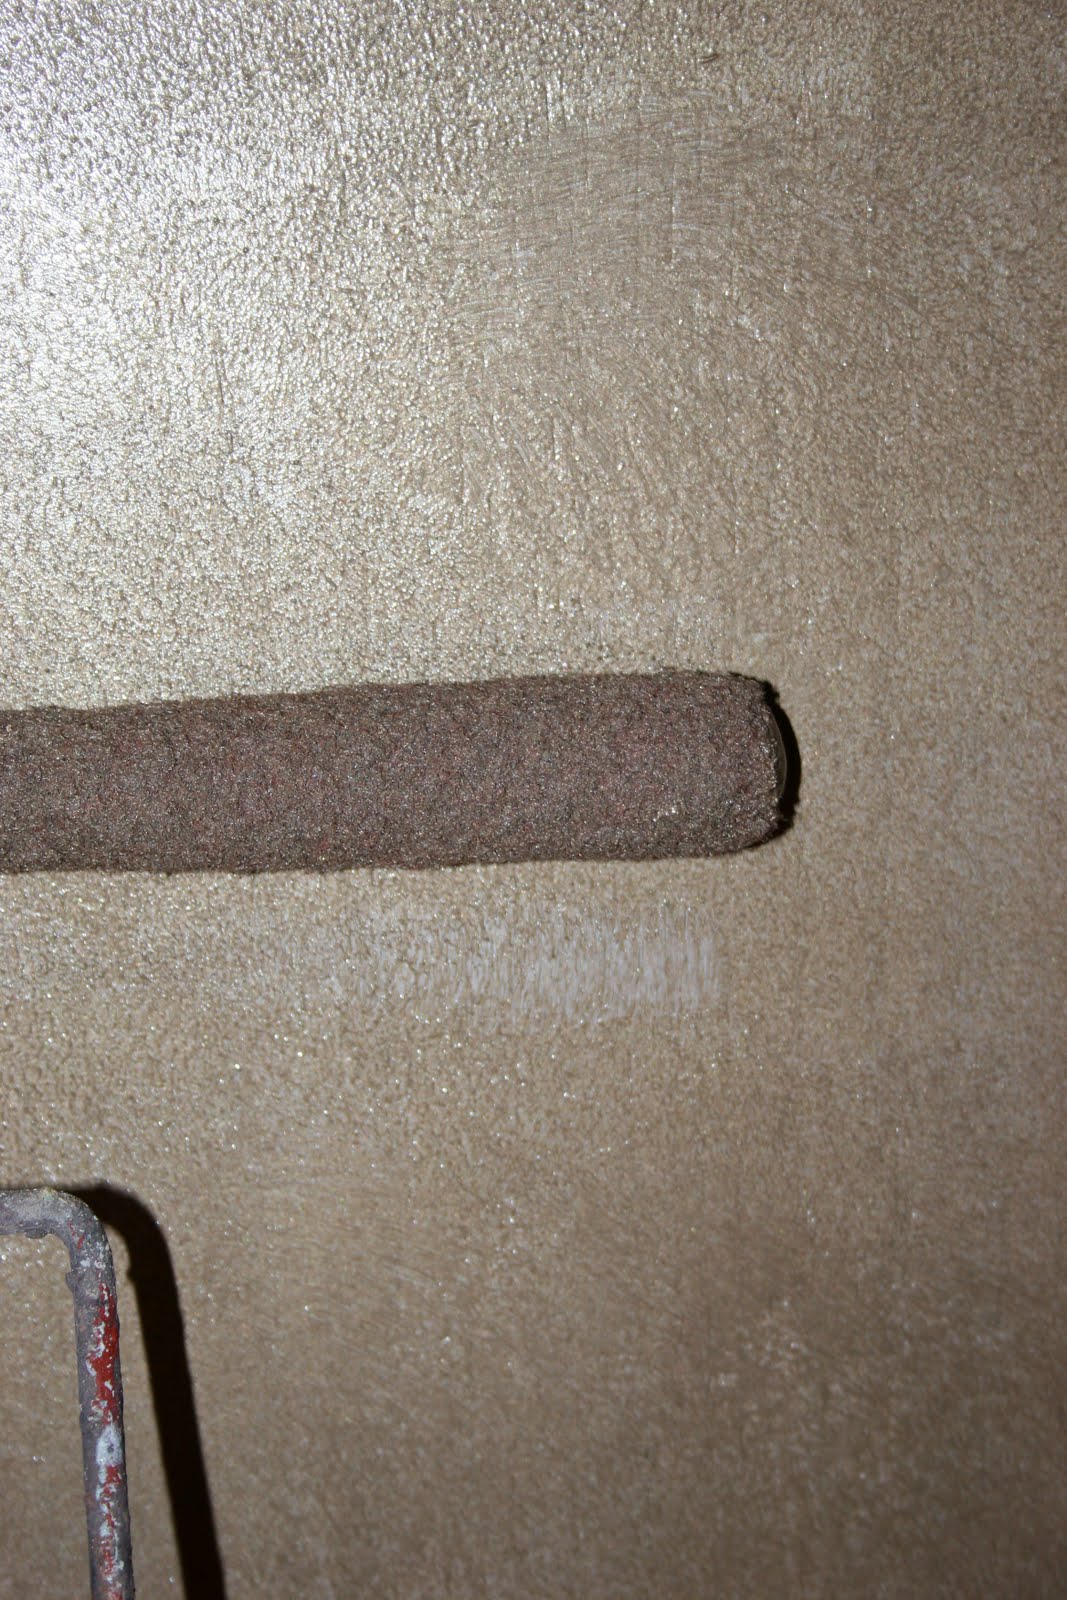
This is our Mirrored Tile. I teach this is our Renew, Reuse, and Recycle class. It is ridiculously easy and inexpensive but looks like high-end tile-just the way you want a finish! Now on to the cabinet which is a finish I made up for myself and don't teach in a class. I always sand, clean, and prime old oak when I am doing a painted finish. My base coat is Designer Metallic Charred Platinum with 4 Tbsp of the Metallic Silver Concentrate added to 1 gallon of the Platinum base. I decided to roll this material and believe me this easiest way (beside spraying) to apply a metallic paint.

Roll the Designer Metallic with a fluffy small roller not a foam roller. You need to get more product on the surface and the foam roller just smushes it around. Let this layer dry. It doesn't have to be beautiful-just make sure you don't leave lines or drips.


When this is dry (metallics dry slow), repeat your roll method but this time use a stippler or Neon Leon to pounce the wet paint. I use a terry towel and wipe the bristles between every 3 or 4 pounces to keep the paint build up down. The metallic layer will dry down with very little texture. You may want to sand with 600 grit wet paper if the wood feels like it needs it.
Mix Silver Stain and Seal with FX Thinner into a consistency that is easy for you to brush and soften by pouncing with cheesecloth. Do this is section and feather the edges so you don't get hard lines.

The Silver Stain makes a nice slip coat for the next antiquing layer. I mix 1 cup of FX Thinner with 8 Tbsp of Dark Brown Faux Creme Color and brush this over the silver. I also pounced this with the cheesecloth but I kept the pattern to a minimum. A badger brush is useful for softening as well.

After all your hard work-this is the layer that the client "thinks" they are paying the big bucks to get. Here you add all the shading, detailing, water-marks, and fly flicks. I love to use the Faux Creme Color Concentrates-these are a Gold Label product (repeat after me, "You need to take a class to use this"). I use them in most of my cabinet classes and there are some quirks to application. You can also use American Walnut or Van Dyke Brown Stain and Seal for this layer. The colors are great but the stain doesn't hang to the edges or rub out for shading as well as the concentrates. I let my final layer dry overnight and then I seal with 2 coats of Varnish Plus Satin (applying the 2nd coat within 4 hours of the first coat.) I use a black foam roller for the topcoat.
And here is the finished piece. Ready for Bruce to make me a cup of joe (and 2 scoops of creamer please.


Huge difference... very nice. Thanks for sharing your cabinet technique.
ReplyDelete