Thursday, May 27, 2010

Countertop Makeovers: The Fossil Bar


We have a bump out in our kitchen.  I guess the idea was to place a breakfast table there but it really was too small to seat people comfortably.  The rail was white metal with a lovely hunk of wood on top.  Our friend Scott, made us a counter from two solid pieces of MDF complete with nice bull nosed edges.

Before the counter was installed, I used MFM and Primetch to change the rails into a rusted metal.  I applied Venetian Plaster to the wood top and glazed it.  The floor is sanded because I did a finish on it as well.


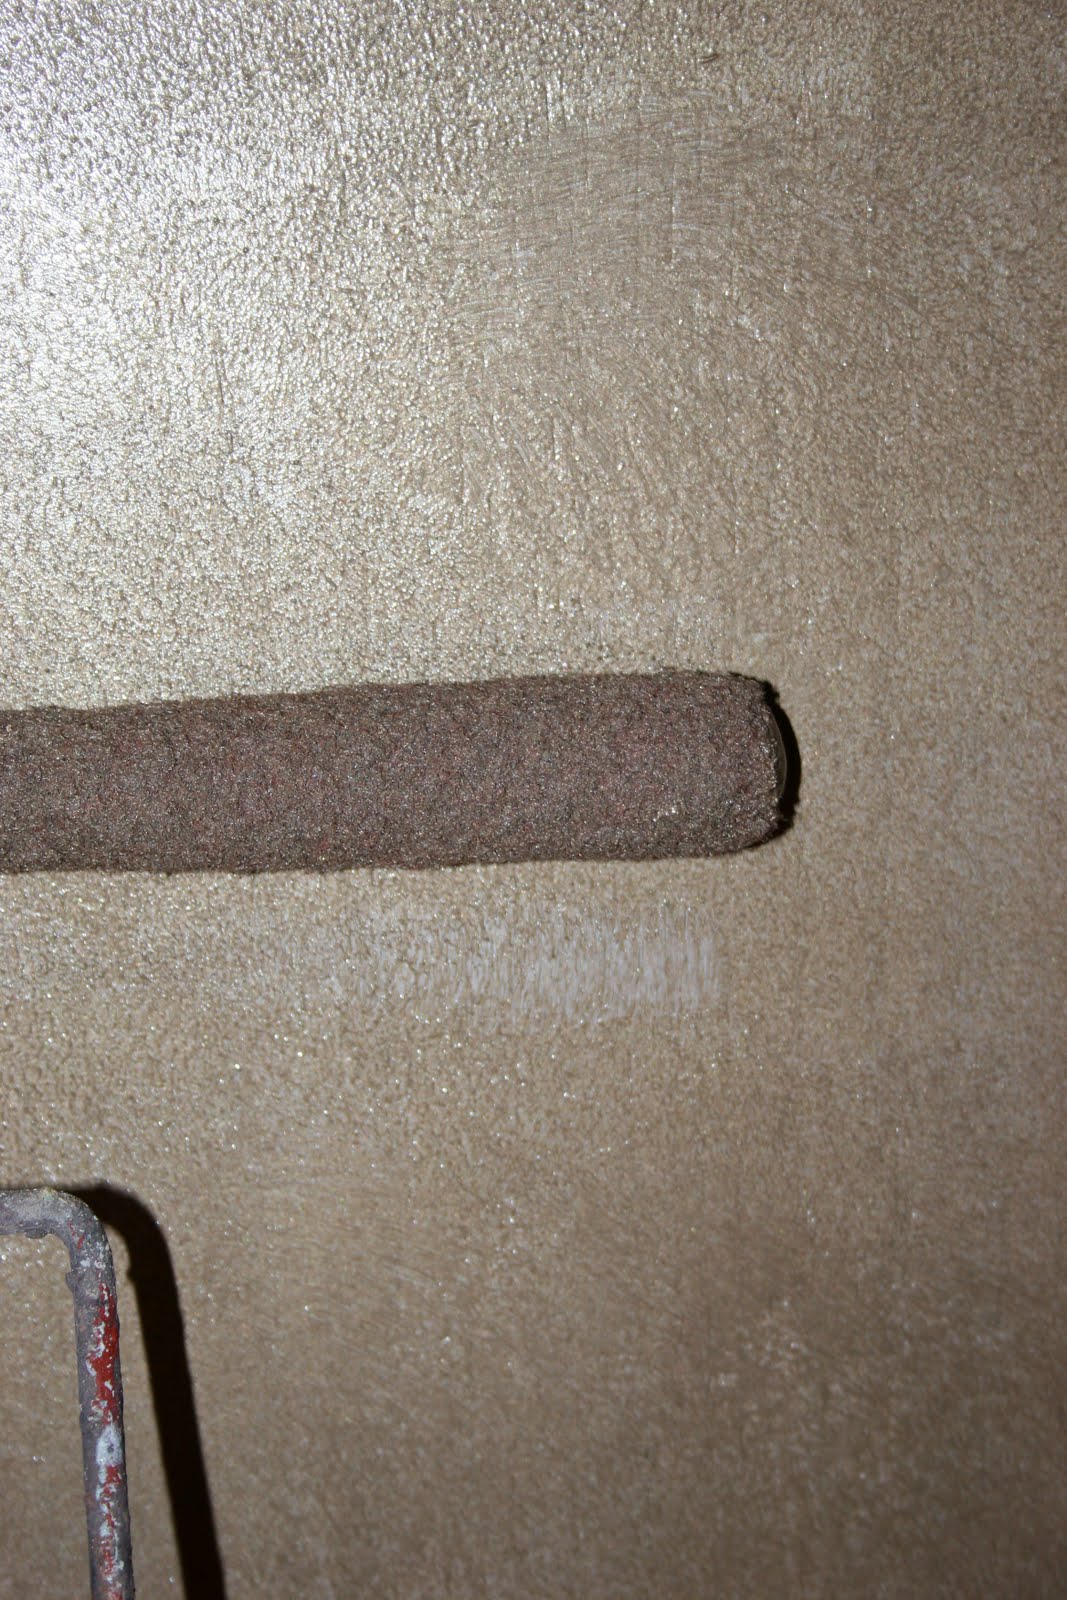
This a matching banister in another part of the house with a better view of the finish I described above.


Scott even wrapped the counter around a support beam-good job!


I rolled the MDF with Texture Coat and then troweled on a layer of Quartzstone.  I used a brush and plastic wrap to work over the bull nosed edge.  This layer was sanded and cleaned.

I decided my counter would be a Fossil Stone.  I went on-line and studied authentic fossil stones including how the real fossils are revealed from the rock.  When you use a stencil like this it is easy to veer into cheesy and I wanted the finished product to look and feel as realistic as possible.  I noted that the real fossils had a very polished appearance so I elected to use Stucco Lux for this step.  I applied some Midnight, River Rock  and Delta Brown Stucco Lux colors with a Japan Scraper over the Faux Effects Fossil Stencil set.


Murray is giving me some moral support (he really thinks it is food).

The stencils look best if left "broken" in areas.  The most difficult part of placing a pattern is deciding how many to actually complete.  I decided that a few would be almost covered with the following layers.  The Stucco Lux polished very well as I bladed the finish.


This layer was the most difficult.  I troweled Sandalwood, Goldenrod, and Rich Creme Stucco Lux colors at the same time, working wet plaster into wet plaster.  The Stucco Lux wants to "bite" into the surface so blending the colors was not easy.  I did finally add some So-Slow extender and that helped.  My brillant idea was to add some of the River Rock and Delta Brown with this layer.  These darker colors overwhelmed the golds and cream and didn't want to blend.  I ended up repeating this layer just to soften the hard edges between colors.  Stucco Lux dries much lighter and should be enhanced with a sealer.  I tinted some Stucco Lux Sealer with Earth Brown Faux Creme Color and sealed this layer.

I used the darker Stucco Lux colors on the edge of the counter.  By pulling a dried chip brush through this, it made the edges resemble stacked rock.  The golden layer was brushed over the stacked rock and softened with cheesecloth.  The sealer was applied in the same manner.


I scrapped very hard over the fossils to pop and polish them. This is a Trilobite and the spiral shells are called Ammonites.  These fossils were abundant in the Mesozoic age.  I call the Ferns-Ferns.  This would be a fun project for a kids bath counter and teach them a little about Anthropology at the same time.  Maybe I should call this the Ross Geller countertop?

I activated a layer of white colorant over the entire finish to add depth and movement.


The final color layer was more activated colorants in earth tones. 


The sealer provided a nice slick surface for activation.  You can also glaze on top of the sealer.  Your glaze will bead up on the surface but it will bond solid.

I rolled 1 coat of the Gloss Water-based Rock-kote epoxy.  To avoid lap lines, use a black foam roller, thin with water, and I add a few drops of retarder.  This is a two-part gold label product.  The next day I did a light sand with 600 wet sand paper, cleaned it, and rolled a thick coat of C500 Satin.  This bonds nicely with the Rock-kote for a finish that feels like polished stone.

Tile and Countertop Makeovers: The Renew Class

So many things going on the past two weeks.  I am using the new Stone Decor and Luna to work on 3 cultured marble counter tops in our home.  During this time we hosted a birthday party for Ashley-Happy 27th to Ashley - and people used 1 of the sinks before it had cured-so far so good!  I also taught our Renew class.  We did 4 counter top, 4 large single tile, and 4 3X4 tile boards-in 2 days.  Here is a sneak peek at my counters and class samples.  I will post counter top sequences when I get them all done.  We are offering the class again later this summer.

This is the sample material we used for the 3X4 tile samples.  The larger tile started as a shiny white sample(cheeep).


The Antique Blade Runner tile.  This looks a lot like high end leather tile.  Sandy Gette did a cool one that resembled petrified bark-I should've got a picture.


The Bronzed Bee.  My "magic" plaster mix and Bomar's Bee.  Very easy but classic look.


Lita's Copper Stone Decor Counter Top.


Decor Stone Slate Counter Top.


The Decor Stone Back Splash. Looks and feels just like Tumbled Marble!


Fool's Gold Glass Tile.


Decor Stone Marble Counter Top.  This is before top coating.


Stone Decor Counter Top Close Up.


Cultured Marble Vanity 1.  This vanity is complete with a chip.
The chip is fixed and now the vanity sports a glamourous carved look.  Thanks Stone Decor! Bruce wanted me to add this relief to the sink-of course.  Uhmm-didn't happen but later I did add more "sparkle" to the sink area.  Still deciding on final top coat, fixture and what finish for the cabinet.


Bath Vanity 2 with a layer of Stone Decor over the cultured marble. 


A work in progress.  The best part of the Stone Decor is you may use other FE products that you already have-like Lusterstone to complete your look. 

The Lower Level Party Bath.  Again with the cultured marble! 


Now Oxidized Hammered Copper.  Made with Stone Decor.

I love this product.  You can skip sanding (you all know I hate that), priming, and applying Setcoat.  It sticks right to cultured marble, ceramic tile, epoxy, and plastics.  I mixed 1PINT of Stone Decor for the first layer of all 3 sinks.  I applied the Stone Decor to plastic ceiling medallions, fake molding, and a laminate tile.  The next day I sanded hard with 220 grit paper and nothing lifted.  I will use this product to transform my own entry tile that is a "fake" orange Mexican tile set in concrete.  It would expensive and messy (jackhammer anyone?) to remove.  Now it will be a sleek tumbled stone.  I am also using it for our cultured marble jacuzzi tub-wish me luck. As always, I will post the triumph (or the tragedy).

Thursday, May 13, 2010

Contemporary Faux Finishing: Contemporary Lux Class

Ashley and I are so excited about the samples boards we did at the Dallas Faux Effects training.  We sat in the back of the room behind our easels-the best place to make lots of samples.  Between the two of us, we completed 16 samples in 5 hours!  The new products are all Gold Label.  This will give you an edge over other finishers because there is nothing on the market that looks like this.  Better yet, every finish we did is over 1 base coat layer and 1 to 2 more decorative layers.  You can't beat getting a high end look in only 2 steps.

The first samples we did are with the new LUNA:


Above samples are a single layer of  Luna mixed in different colors applied over the new Sharkskin bases.
The next samples are made with the High Hide Metallics and Luna over Sharkskin.


The next samples were made with the High Hide Metallics. We've added other products to a few and some are just the High Hide Metallics.


The final sample we did with the Stone Decor.


I will be teaching the Stone Decor in the Makeover Class and the Luna and Sharkskin in the Contemporary Lux Class.  These are just a few of the samples.  Come by the shop and check out the real thing.  I will be working with all products this weekend in my own home and will let you know how it goes!

Wednesday, May 12, 2010

Faux Finishing Cabinetry and Countertop: The Coffebar Makeover

I recently completed a project at my house that would follow our Totally Trendy Silver posts and Before and After posts.  Bruce and I have a Coffee Bar in our Master Bedroom-the previous owner was a brain surgeon so maybe he needed it to get going for early morning operations (Hope his hands didn't shake).  Anyway, there is a sink and a refrigerator. I really enjoy this little luxury especially since Bruce brings me coffee every morning. Unfortunately, like every wood piece in our home it wasn't a very attractive piece.


I decided to redo the tile, counter top and the cabinet. Since I was experimenting with our new epoxy, Rock-Kote, I tackled the counter first.  I cleaned the laminate and rolled a coat of Primetch. I also did this to the row of tile behind the counter.  When the Primetch felt dry, I rolled two coats of Royal Taupe Setcoat.

The picture above is my first color layer.  At this stage, a client will call you freaking out. When creating a "granite" look, don't obsess about the base layer.  You are just laying in blocks of color to build upon.  Trying to create veins at this step is a waste of time and product.  I like to seal this layer with a gloss topcoat.

See what a difference the second layer makes? This is where I take my color and make veins and drifts to create my granite look. I would tell you how I do it but then I would have to kill you. Seriously, I teach this in 2 classes so the paying folks know the tricks. (Stick with this, there is a freebie recipe for the cabinet). When the veining is dry, I over glazed the whole thing with a rich caramel color. Oh yea, I blew in silver and black fine glitter too-we are really into glitter right now.

Here I am pouring the two part high solid epoxy. I confess, this is not simple.  It involves precise measuring, mixing, and pouring.  It is also messy.  Through trial and error, I've found some helpful hints.  Heat water in a microwave about 1 minute.  Remove water from microwave and set the container of both parts of the Epoxy in it for 10 minutes. This really thins the thick material when you mix and stir it.  Don't be skimpy on the pour-more is better.  I didn't pour enough and had rippled areas.  Finally, use a propane torch and keep it moving over the surface.  This causes the material to "crawl" and releases any bubbles as you pull gently with a foam brush. If an open flame concerns you (and it should), then the water-based Rock-Kote is a great option although it doesn't "pop" the finish like the high solid.

It looks pretty good. You do need to pull the tape before the epoxy sets because it is really hard to cut out after the fact.  I let this cure 48 hours before I worked on the tile.
This is our Mirrored Tile.  I teach this is our Renew, Reuse, and Recycle class.  It is ridiculously easy and inexpensive but looks like high-end tile-just the way you want a finish! Now on to the cabinet which is a finish I made up for myself and don't teach in a class.  I always sand, clean, and prime old oak when I am doing a painted finish. My base coat is Designer Metallic Charred Platinum with 4 Tbsp of the Metallic Silver Concentrate added to 1 gallon of the Platinum base.  I decided to roll this material and believe me this easiest way (beside spraying) to apply a metallic paint.


Roll the Designer Metallic with a fluffy small roller not a foam roller.  You need to get more product on the surface and the foam roller just smushes it around.  Let this layer dry.  It doesn't have to be beautiful-just make sure you don't leave lines or drips. 

When this is dry (metallics dry slow), repeat your roll method but this time use a stippler or Neon Leon to pounce the wet paint.  I use a terry towel and wipe the bristles between every 3 or 4 pounces to keep the paint build up down. The metallic layer will dry down with very little texture.  You may want to sand with 600 grit wet paper if the wood feels like it needs it.

Mix Silver Stain and Seal with FX Thinner into a consistency that is easy for you to brush and soften by pouncing with cheesecloth.  Do this is section and feather the edges so you don't get hard lines.
The Silver Stain makes a nice slip coat for the next antiquing layer.  I mix 1 cup of FX Thinner with 8 Tbsp of Dark Brown Faux Creme Color and brush this over the silver.  I also pounced this with the cheesecloth but I kept the pattern to a minimum.  A badger brush is useful for softening as well.
After all your hard work-this is the layer that the client "thinks" they are paying the big bucks to get. Here you add all the shading, detailing, water-marks, and fly flicks.  I love to use the Faux Creme Color Concentrates-these are a Gold Label product (repeat after me, "You need to take a class to use this").  I use them in most of my cabinet classes and there are some quirks to application.  You can also use American Walnut or Van Dyke Brown Stain and Seal for this layer.  The colors are great but the stain doesn't hang to the edges or rub out for shading as well as the concentrates.  I let my final layer dry overnight and then I seal with 2 coats of Varnish Plus Satin (applying the 2nd coat within 4 hours of the first coat.)  I use a black foam roller for the topcoat.
And here is the finished piece.  Ready for Bruce to make me a cup of joe (and 2 scoops of creamer please.